
SSL Web Hosting in Tampa: How to Add HTTPS to Your Domain via Plesk?
In today’s digital landscape, securing your website’s security and credibility is critical. One important step is to enable HTTPS (Hypertext Transfer Protocol Secure) in your domain. This article will walk you through the process of adding HTTPS to your domain using Plesk, a popular web hosting control panel. You may improve the security of your website and create a safer browsing experience for your visitors by following these step-by-step recommendations.
Prerequisites
Before we dive into the process of adding HTTPS to your domain via Plesk, there are a few prerequisites you need to fulfill:
- A domain name: Ensure that you have a registered domain name that you wish to secure with SSL.
- Plesk control panel access: You should have administrative access to your SSL web hosting in Tampa account with Plesk control panel.
First: Logging in to Plesk
- Open your preferred web browser and enter the URL for your Plesk control panel
- Enter your username and password to log in to the Plesk control panel.

Second: Navigating to the Domain Settings
- Once logged in, you will be directed to the Plesk control panel dashboard. Locate and click on the “Websites & Domains” tab.
- From the list of websites displayed, click on the domain name for which you want to add HTTPS.
Third: Enabling SSL/TLS Support
- Within the domain settings page, scroll down to the “Security” section and click on the “SSL/TLS Certificates” option.
- On the SSL/TLS Certificates page, click on the “Let’s Encrypt” tab.
- Click on the “Get it free” button next to the “Let’s Encrypt” option to obtain a free SSL certificate for your domain.
- Specify the email address where notifications regarding the certificate will be sent and choose the desired options for securing your domain (e.g., securing the domain with or without www prefix).
- Finally, click on the “Install” button to initiate the SSL certificate installation process.
Fourth: Verifying SSL Certificate Installation
- Once the installation process is complete, return to the domain settings page.
- Scroll down to the “Security” section and click on the “SSL/TLS Certificates” option once again.
- On the SSL/TLS Certificates page, you should now see the installed certificate listed.
- And also, to ensure that the SSL certificate is properly installed, click on the “Certificate Information” link. A new window will open displaying detailed information about the certificate.
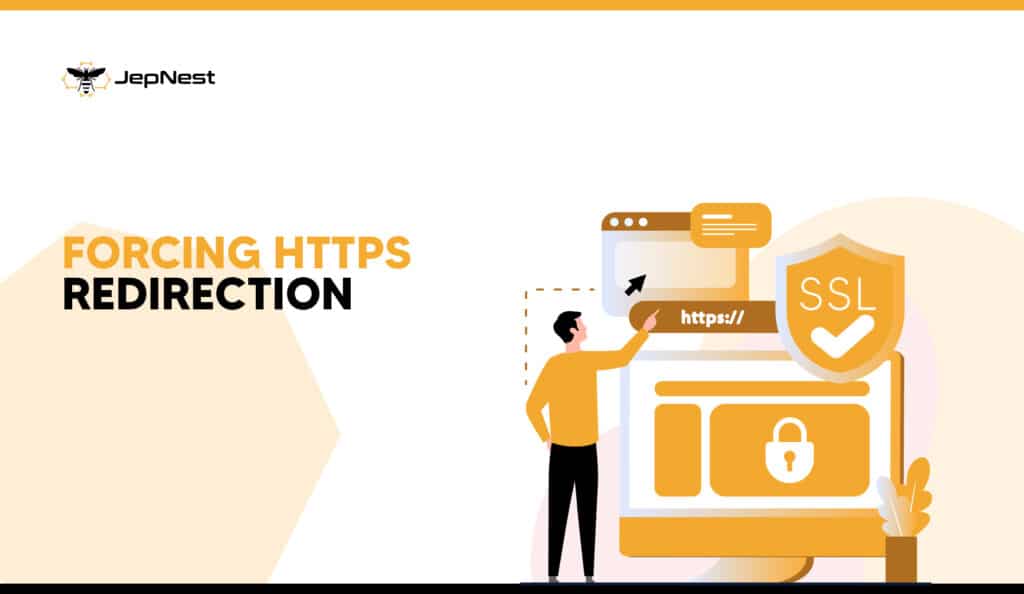
Fifth: Forcing HTTPS Redirection
- To ensure that all traffic to your domain is automatically redirected to HTTPS, go back to the domain settings page.
- Scroll down to the “Hosting Settings” section and click on the “Hosting Settings” option.
- Within the hosting settings, locate the “Preferred Domain” field and select the option that includes “www” or “non-www” based on your preference.
- Check the “Permanent SEO-safe 301 redirect from HTTP to HTTPS” box to enforce HTTPS redirection.
- Save the changes by clicking on the “OK” button.
You may easily add HTTPS to your domain using Plesk by following these step-by-step steps. Enabling SSL/TLS not only improves the security of your website, but it also increases trust among your users. A secure website can protect critical data while also providing a safe browsing experience. Lastly, take the actions necessary to secure your domain immediately and reap the benefits of SSL web hosting in Tampa.
Remember to keep an eye on your SSL certificate’s expiration date and renew it as needed to preserve your website’s security.